Out of all the mountains in Korea, only four have mountain shelters at all, and two of those four have just a single shelter. But there’s one Korea mountain with a full seven shelters along its ridge: Jirisan, which, alongside Seoraksan, stands as one of Korea’s great mountains. It’s a massive range spanning both Jeolla and Gyeongsang provinces, sitting at the southern end of the Baekdudaegan ridgeline.
It’s genuinely one of the mountains Koreans love most, which means it draws huge numbers of hikers and offers an equally huge number of trail options. When people talk about Jirisan, the traverse is usually what comes up first. Since there are so many shelters, you can even book one in advance and spend the night partway through. That said, what I want to share today is my own experience doing the Jirisan traverse without an overnight shelter stay, hiking straight through. For context, I did what’s known as the Jungseong Traverse: the stretch starting at Jungsan-ri (South Gyeongsang Province) and ending at Seongsamjae (South Jeolla Province).
In this post, I’ll walk you through what I experienced on the Jirisan traverse, what you need to prepare for a safe hike, how to actually get to Jirisan, the specific course I hiked, and the gear you absolutely need to bring.
Jirisan Traverse : What You Need to Know for a Safe Hike
Jirisan isn’t a mountain you can wander into without a plan. Hike it carelessly and you can easily end up stuck partway through. Hiking it safely means understanding a few regulations and facilities ahead of time. I went in thinking physical conditioning was all I needed to prepare, and only realized partway through planning that there was an institutional side to this I had to understand too.
Night Hiking Restrictions and Entry Time Limits
Jirisan National Park restricts night hiking, in principle, from sunset until two hours before sunrise, for the safety of hikers and for fire prevention.
Source : Jirisan National Park (Korea National Park Service)
Since I was planning this as a through-hike with no overnight stay, I worked backward from this time limit to figure out my start time, but I built in a generous buffer, since fatigue or bad weather partway through can easily throw the schedule off. The entry restrictions also differ depending on whether you’ve booked a shelter or not, so it’s worth checking which time rule actually applies to your situation. On top of that, spring (February 15 to May 15) and fall (November 1 to December 15) have separate periods where entry itself is restricted entirely for fire prevention, so I double-checked the notices on the Jirisan National Park website before finalizing my schedule.
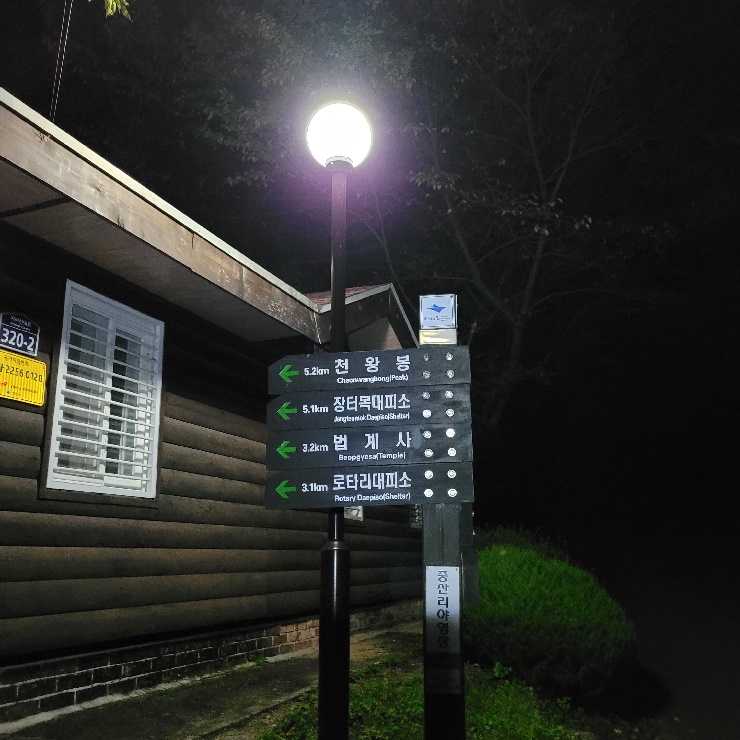
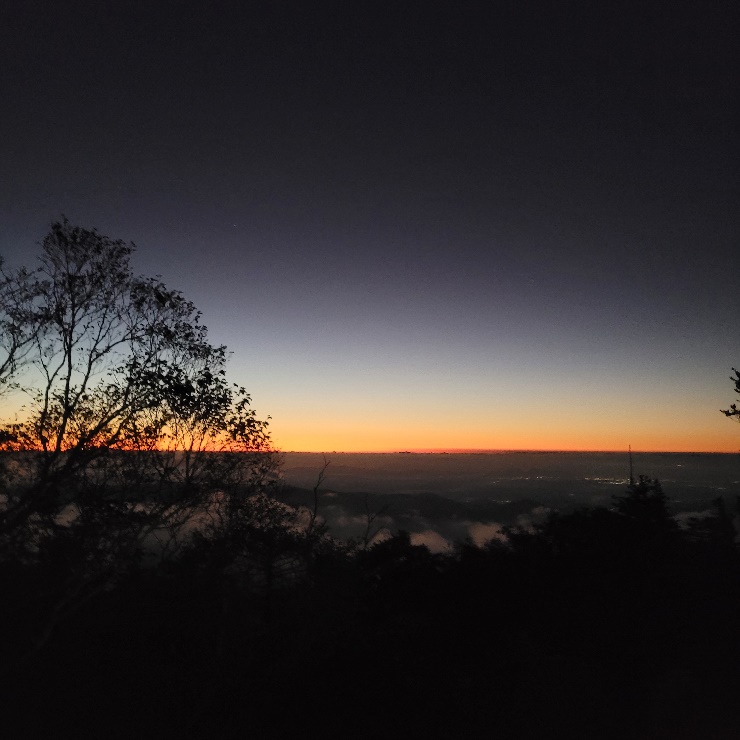
During the warmer season, entry is allowed starting at 3 AM, and during the colder season, starting at 4 AM.
Using the Shelters, Booking Ahead, and No Showers
Jirisan has several shelters along the main ridge, including Nogodan, Yeonhacheon, Byeoksoryeong, Seseok, and Jangteomok, which means you don’t have to carry all your water for the entire traverse.
Source : Jirisan National Park (Korea National Park Service)
The first time I did this traverse, I packed way too much water and paid for it with a brutally heavy backpack. After that, I switched to buying water at the shelters as I went, which cut my pack weight down a lot. Running out of water right before reaching a shelter can be genuinely stressful, so I got into the habit of estimating the distance to the next shelter and pacing my water use accordingly. That said, if you want to sleep at a shelter, you absolutely have to book in advance. You can’t just show up and expect a spot. One thing worth knowing ahead of time : there’s no way to shower at these shelters. The first time I stayed overnight, I was a little thrown to discover there were no washing facilities at all. Wet wipes are really your only option, so it’s best to prepare with that expectation going in. You’re left feeling pretty grimy after all that sweat, but once I accepted that a traverse like this means spending several days fully immersed in nature, that discomfort stopped bothering me.
Also, bring cash. Card payments aren’t always possible at the shelters.
How to Get to Jirisan
Since the Jungseong Traverse starts and ends in two completely different provinces, I had to plan transportation for both ends separately. If I hadn’t known this going in, I think I would have been caught off guard once I actually finished the hike, so this is worth sorting out before you leave.
Getting to Jungsan-ri
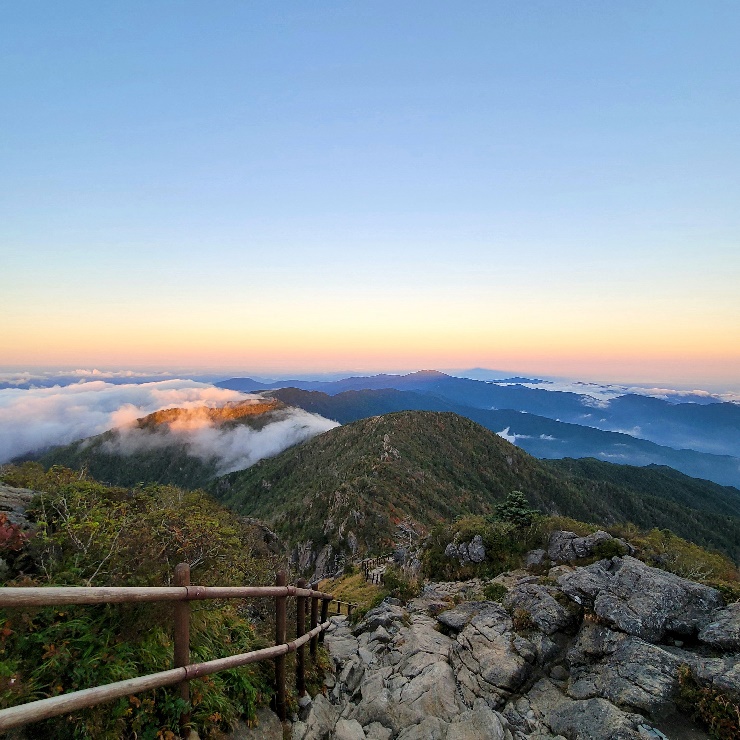
Jungsan-ri is located in Sancheong County, South Gyeongsang Province. If you’re coming from Seoul, taking a bus or driving are both common options. I chose public transit over driving for the start of my hike, since I already knew I’d end up in a completely different region by the time I finished, and bringing a car would only have made things more complicated later. Bus schedules can shift depending on weekends or peak season, so it’s worth checking the timetable and planning around it before you leave.

Getting Out from Seongsamjae
Seongsamjae sits just below Nogodan Shelter, at a fairly high elevation, and it’s often unclear whether public transit even runs there. I had to call a taxi to get to Guryegu Station, and since it’s partway up a mountain rather than in a normal town, taxis don’t just drive by, so having a call-taxi number ready in advance mattered. Local call-taxi numbers can change over time, so I looked up and saved the number for a taxi call center in Gurye County before heading down. If you drove to Jungsan-ri and left your car there, getting back to it from Seongsamjae is no small task. Seongsamjae is in Jeolla Province and Jungsan-ri is in Gyeongsang Province, and the distance between them is considerable. I once tried covering that distance by taxi and was stunned by how expensive the fare turned out to be. Because of that, I’d recommend public transit over driving for getting between the two ends. Accepting upfront that the Jungseong Traverse starts and ends in different provinces, and planning around that fact from the beginning, made things far less stressful once the hike itself was done.
The Course I Hiked : The Jungseong Traverse
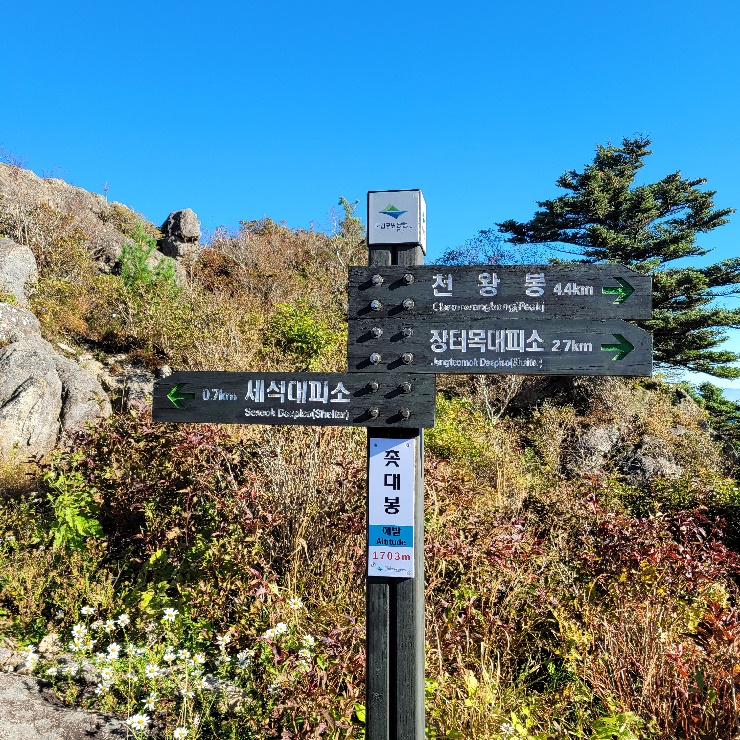
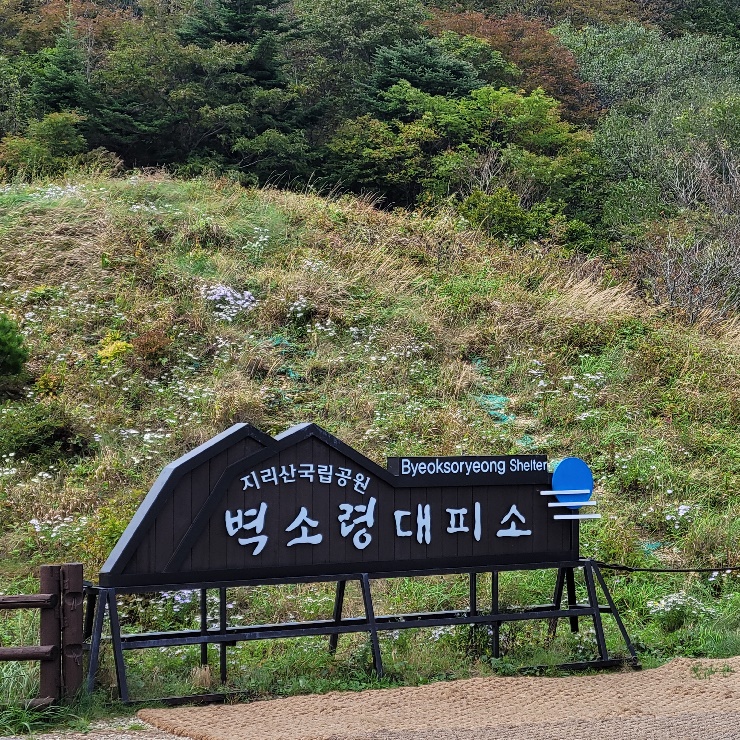
The course I did starts at Jungsan-ri Trail Support Center, runs through Cheonwangbong, Jangteomok, Seseok, Byeoksoryeong, Yeonhacheon, and Nogodan, and finishes at Seongsamjae. This is what’s known as the Jungseong Traverse. The distance comes close to 40km, which means finishing it in a single day requires hiking straight through the night without sleeping. Each shelter along the way has its own distinct atmosphere and scenery, so even though it was physically grueling, I never once found myself bored during the hike.
Food You Have to Try Along the Way
There are a couple of good spots to eat before and after the hike. The pork soup (dwaeji gukbap) at the gisa sikdang (a diner traditionally aimed at truck and taxi drivers) at the Jungsan-ri trailhead is hearty and filling, and I’ve turned eating a hot bowl there, either before an early morning start or after a late-night descent, into something of a ritual. There’s also a Jirisan black pig burger place along the road leading to Jungsan-ri Trail Support Center, which is great for something light, whether you’re grabbing a quick bite before the hike or you’re hungry after coming down. There’s actually a small guesthouse on the second floor of that burger place. I’d recommend spending the night there before your traverse and heading out early the next morning.
Being able to choose between a hearty bowl of soup and a light burger depending on what you’re in the mood for makes the Jungsan-ri trailhead area a genuinely convenient place to be based out of if you’re gearing up for a traverse.
Gear You Absolutely Need to Bring
Among everything you’ll want to pack, the two items I’d stress most are a headlamp and a portable charger.
A Headlamp Isn’t Optional
If you’re doing this as a through-hike with no overnight stay, a headlamp is non-negotiable. Hiking the night sections, I found out firsthand that without one, you genuinely can’t make out where to put your feet. Jirisan’s ridge trail has a lot of rock and loose stone, which makes it dangerous without proper lighting. It’s smart to bring spare batteries too. I once had my headlamp battery die partway through and had to rely on a hiking companion’s light to keep going, which was a pretty nerve-wracking experience, and I’ve made sure to carry backup batteries ever since. Brightness matters more than you’d think as well. I started out with a lightweight camping lantern that turned out to be too dim, and I struggled through the rocky sections because of it. Since then, I’ve switched to a proper hiking-grade headlamp with real brightness.
Even if you’re not doing a through-hike and plan to sleep at a shelter, a headlamp is still absolutely essential.
A Portable Charger Is a Must
Your phone battery drains much faster than usual while hiking. During my through-hike, my battery died entirely partway through, and I ended up walking through the most nerve-wracking night section without even being able to pull up a map. I was so exhausted that I kept saying “Hey Bixby, what time is it?” to my phone over and over, which, in hindsight, probably burned through the battery even faster.
Ever since, I always bring a high-capacity portable charger, and I never skip packing a charging cable even on trips where I’m sleeping at a shelter. Shelters may have outlets, but if it’s crowded, you could be waiting in line just to charge your phone, so topping up with a portable charger ahead of time is a much safer bet. I make a habit of fully charging both my phone and my portable charger the night before I leave, as a final check, and that one habit alone has made a huge difference in how secure I feel throughout the traverse.
Recommended Reading
Korea Mountain Hiking Guide : Taebaeksan’s Yuilsa Course
Korea Hiking Guide : Wolchulsan, Jeonnam Yeongam’s Sunrise Hotspot
Korea Mountain Hiking Guide : Geoje Mangsan
Best Korea Mountain for Fall Foliage : Sobaeksan Hiking Course and Local Food Guide
